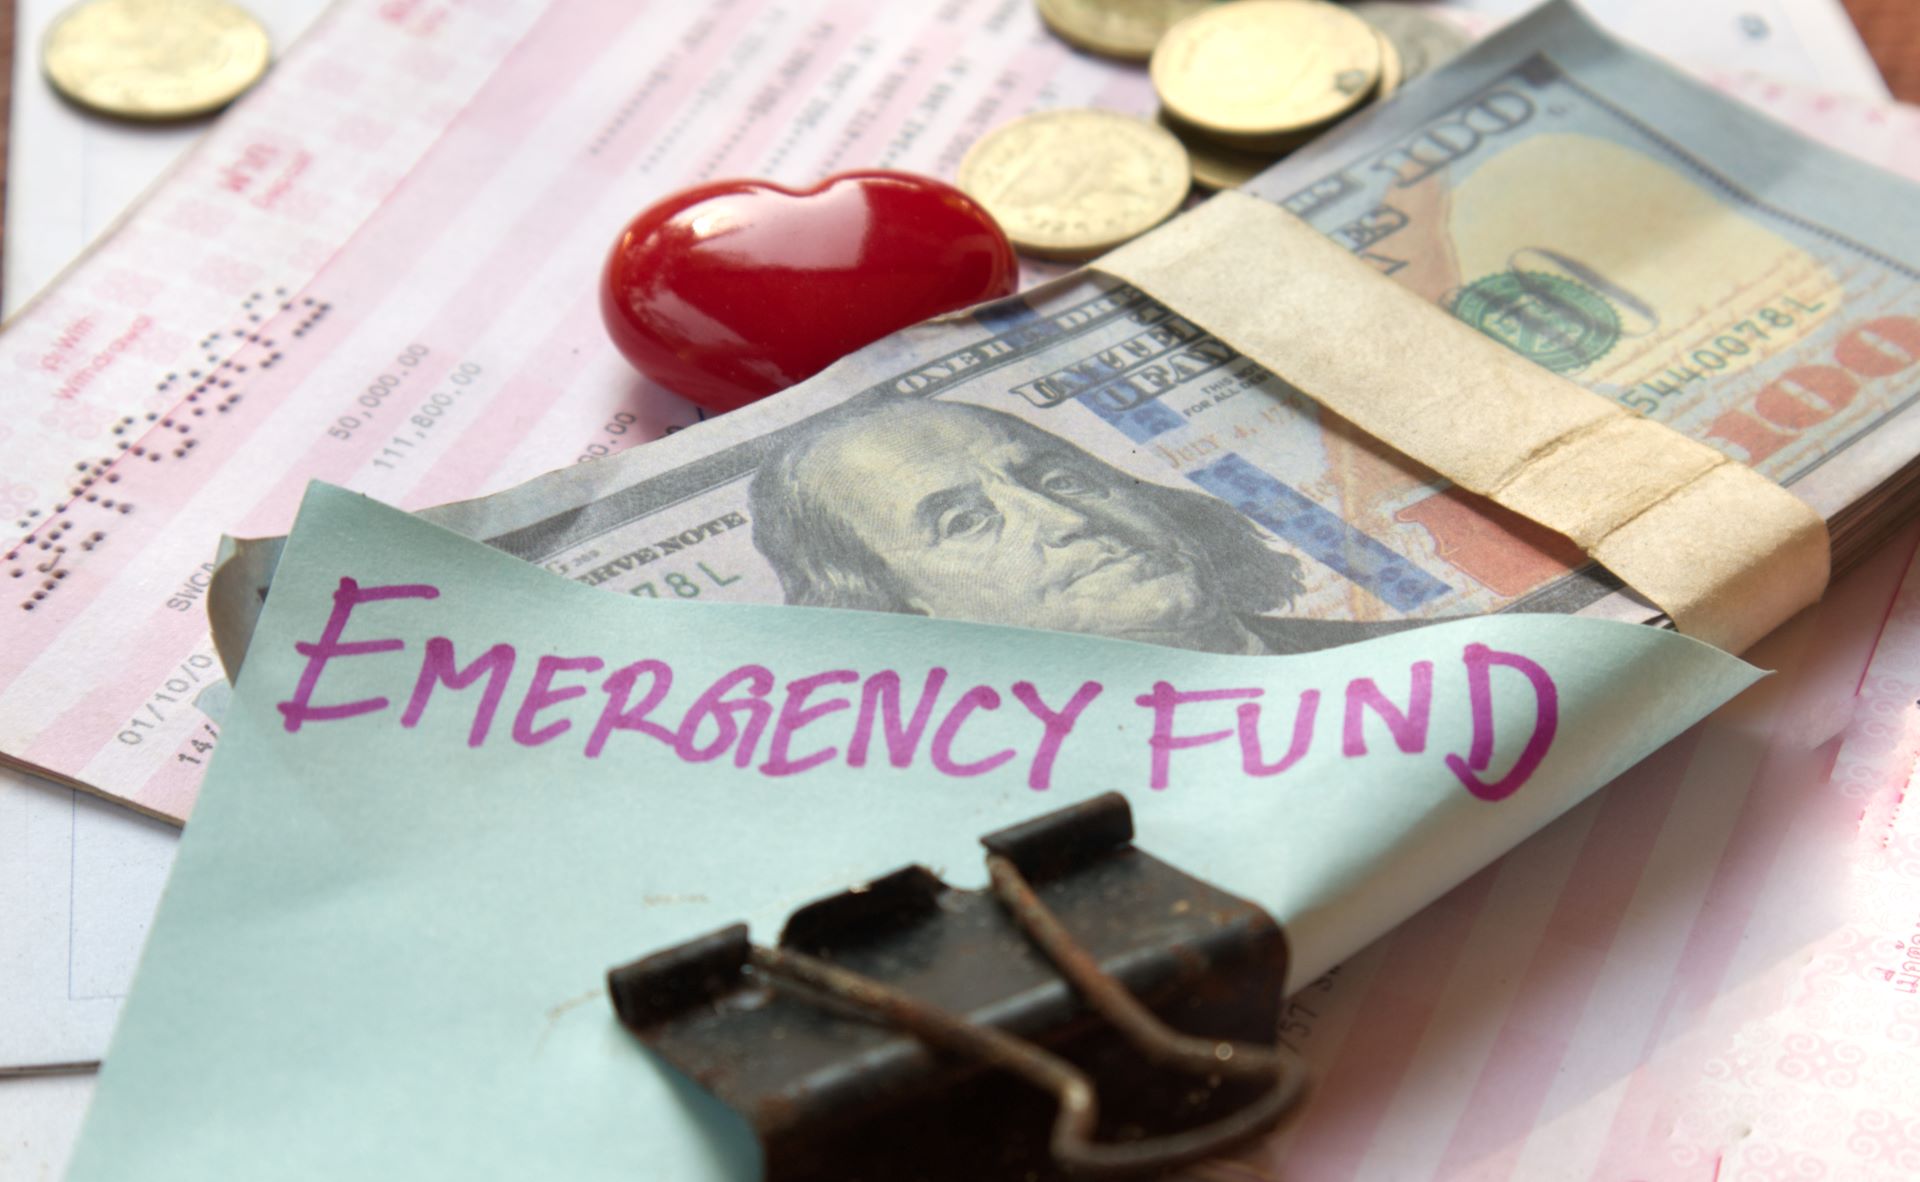
The journey to financial well-being is often paved with good intentions, but occasionally derailed by unexpected bumps in the road. A sudden job loss, a medical emergency, or a major car repair can instantly transform a stable situation into a stressful crisis. This is where the emergency fund steps in—a critical, non-negotiable component of a robust financial strategy.
An emergency fund is more than just a savings account; it’s a financial parachute, a protective barrier that shields your primary investments and future goals from life’s inevitable surprises. For many, the idea of setting aside thousands of dollars seems daunting, yet the security it offers is priceless.
This comprehensive guide will take you from ground zero to a fully-funded, secure emergency reservoir, detailing the ‘why,’ the ‘how,’ and the ‘where’ of building a fund that genuinely works.
Phase 1: The ‘Why’ – Understanding Your Safety Net
Before diving into the logistics, you must internalize the purpose of this fund. It has one job: to provide financial stability during an unforeseen, unavoidable, and urgent event.
1. Distinguishing Needs from Wants
The emergency fund is not for:
- A new television or holiday gifts.
- A planned vacation or down payment on a house (these require separate sinking funds).
- A stock market investment opportunity.
It is for:
- Job loss (covering necessary living expenses).
- Sudden, major medical expenses (high deductibles, co-pays).
- Essential home repairs (burst pipe, furnace failure).
- Essential car repairs (transmission failure, major breakdown).
Understanding this distinction prevents emotional spending and keeps your security intact. When you are tempted to tap the fund for a non-emergency, remind yourself that you are borrowing from your future self during a crisis.
2. The Cost of Not Having a Fund
Without an emergency fund, unexpected expenses often lead to high-interest debt, such as credit card balances or personal loans. This debt creates a cycle that is incredibly hard to break, diverting future income from investments, retirement, and enjoyment. Your emergency fund’s success is measured by the debt it prevents you from taking on.
Phase 2: The ‘How Much’ – Calculating Your Target
The universal question is: How much is enough? The answer depends on your unique financial situation and risk tolerance.
1. The Starter Fund (The $1,000 Goal)
If you are currently debt-free (outside of a mortgage) and have a stable income, the first milestone is a Starter Fund of $1,000 to $2,000. This amount is sufficient to cover most minor to moderate unexpected expenses, such as a large car repair or a medical bill. This initial win provides an immediate psychological boost and crucial protection against the most common financial hiccups.
2. The Full Fund (3 to 6 Months of Expenses)
The ultimate goal for most individuals is to save three to six months’ worth of essential living expenses.
- 3 Months: Suitable for dual-income households, individuals with very secure employment, or those with significant external support.
- 6 Months: Recommended for single-income households, freelancers, commission-based workers, or those in volatile industries (where job searches might take longer).
Crucially, calculate Expenses, not Income. List your truly essential monthly expenses:
- Rent/Mortgage
- Utilities (gas, electric, water)
- Groceries
- Minimum debt payments
- Insurance premiums
- Transportation costs
Exclude non-essential items like entertainment, dining out, and luxury subscriptions. If your essential expenses total $4,000 per month, your 6-month goal is $24,000.
Phase 3: The ‘How To’ – Actionable Steps to Build Your Fund
Building a large fund requires discipline, automation, and a clear strategy.
1. Cut the Fat and Find the Cash
Your first step is to free up capital. Conduct a ruthless audit of your last three months of spending. Identify non-essential recurring costs (unused subscriptions, premium cable packages) and lifestyle expenses (daily lattes, excessive dining out) that can be temporarily cut or significantly reduced.
Pro Tip: Apply the “24-Hour Rule.” If you are considering a non-essential purchase over $50, wait 24 hours. You’ll often find the impulse fades, and that money can be directed to your fund.
2. Automate Your Contributions
Treat your emergency fund contribution like any other essential bill. Set up an automatic transfer from your checking account to your dedicated emergency savings account the day you get paid. Start small if necessary (e.g., $50 or $100), but remain consistent and increase the amount as you find more savings. Automation removes the decision-making process, ensuring your fund grows effortlessly.
3. Windfalls: The Accelerator
Any unexpected income—tax refunds, work bonuses, inheritance, or cash gifts—should be immediately directed to your emergency fund until you hit your target. These windfalls are not budgeted for and should be treated as pure savings to accelerate your journey to security.
Phase 4: The ‘Where’ – Location and Accessibility
The location of your emergency fund is critical; it must balance safety and accessibility.
1. Security Over Returns
The primary purpose of this money is capital preservation, not growth. You want zero risk of losing the principal. Therefore, the best place for your emergency fund is not the stock market, cryptocurrency, or speculative investments.
2. The High-Yield Savings Account (HYSA)
The ideal home for your fund is a High-Yield Savings Account (HYSA), typically offered by online banks.
- Safety: HYSAs are FDIC-insured (up to $250,000 per depositor), making them virtually risk-free.
- Accessibility: Funds can usually be transferred to your checking account within 1-2 business days.
- Returns: While not substantial, HYSAs pay significantly higher interest than traditional brick-and-mortar savings accounts, helping your money grow slightly faster than inflation.
Crucial Note: Keep your emergency fund in a separate bank from your primary checking account. This prevents accidental spending and reinforces the mental barrier that this money is off-limits.
Phase 5: Maintain and Replenish
Once your fund is fully stocked, the work isn’t over—it’s just transitioned to maintenance.
1. Do Not Co-Mingling Funds
Once you hit your 3- or 6-month target, stop contributing to the fund and direct your savings elsewhere: retirement, high-interest debt repayment, or long-term investment goals. Your emergency fund is a finished asset, allowing you to focus on the next financial milestone.
2. The Replenishment Rule
If you are forced to use the fund for a genuine emergency, your immediate financial priority shifts back to the fund. Pause all non-essential investments and savings until the used amount is completely replenished. This ensures your safety net is always whole.
Building an emergency fund from zero to secure is one of the most impactful steps you can take for your long-term well-being. It transforms potential catastrophes into mere inconveniences, allowing you to weather financial storms without sinking into debt. Start today, even if it’s just with $25. Consistency, automation, and respect for your fund’s purpose will guarantee your journey From Zero to Secure is a success.